
After signing in to your account for the first time, you should finish the setup by entering your company details, adding a custom branding for your 360-degree-tours and creating contact profiles for you and your colleges.
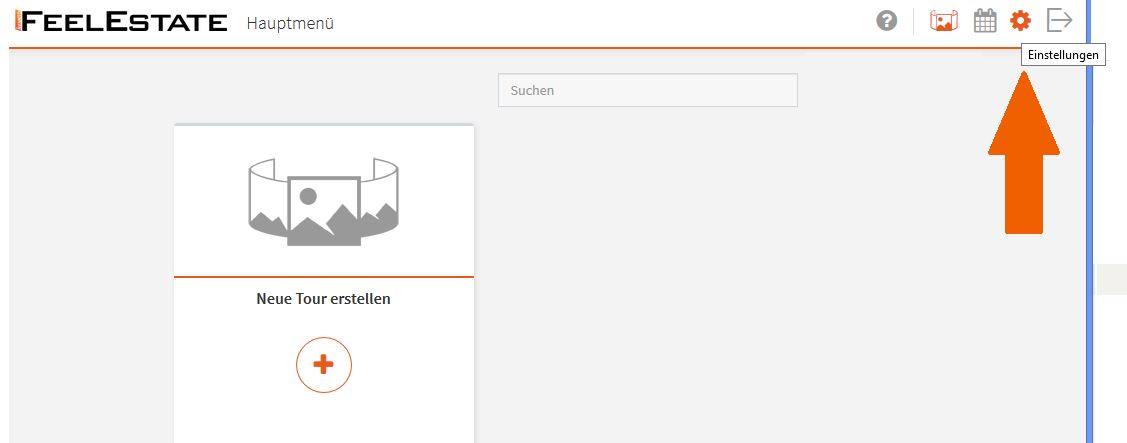
In order to do so, go to Settings in the main menu.
Step 1: Manage your account settings and customize your tour branding
Step 1: Fill in your personal data and company information
- Enter contact details into the respective text fields.
- Insert a supplement to the e-mail signature, which is used together with the contact details as a signature for all system e-mails.
Step 2: Link your Website
- Add the URL of your website under External Links to add it to your 360-degree-tours and contact profiles
Step 3: Customize the branding for 360-degree-tours
- Under CI-Color you can choose the color for the user-interface of your 360-degree-tours.
- Upload a Logo to be displayed in all your 360-degree-tours.
- Upload a Button-Logo to be displayed in the navigation buttons in your 360-degree-tour.
Step 2: Create your own individual contact profile
You can create personal contact profiles for yourself and your colleagues, which can later be assigned to your 360-degree-tours.
- Open the menu item Contact Persons.
- Create new contact person and enter your name and contact details
- Upload your picture
A details explanation can be found in the article Manage Contacts Profiles.
Nachdem Sie Ihren Account nun erfolgreich eingerichtet haben, können Sie mit der Erstellung des ersten 360°Rundgangs beginnen.
Now that you have successfully set up your account, you can start creating your first 360-degree-tour.